
Glass wool insulation is widely used in industrial buildings, warehouses, workshops, and other construction projects to improve thermal performance. However, installing glass wool on an exterior wall is quite different from laying insulation on a roof. The materials, fixing methods, and protective layers all need to match the building design.
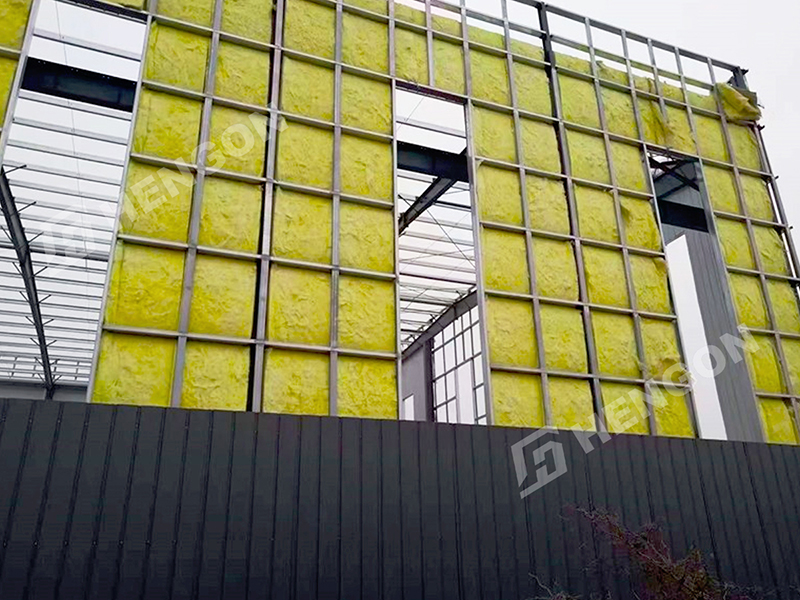
When it comes to installing glass wool insulation, doing it right is crucial. If it's not put in correctly, you can end up with gaps, moisture issues, thermal bridges, or insulation that's just not doing its job. But if you know the proper way to install it, you can avoid these common mistakes and get the results you need. This means your insulation will work better and last longer.
When you're getting ready to install, choose the right kind of glass wool for the job. For walls, glass wool boards are usually the way to go, but for roofs, you'll want to use glass wool rolls or blankets. This is because different areas of your building need different types of insulation to work properly. By picking the right glass wool product, you can make sure your insulation does its job and keeps your space comfortable.
When it comes to exterior walls, the type of insulation system, the force of the wind, how the insulation is fixed, and the way the wall is constructed all play a role in determining the right density and thickness. For roofs, the requirements are different - it depends on the structure of the roof, the temperature outside, and how well you want to keep the heat in or out.
Do not choose insulation based on density alone. Thermal conductivity, fire performance, moisture resistance, dimensional stability, and compatibility with the building system are also important.
Before purchasing, confirm the product specifications with the designer or supplier to ensure the material is suitable for the intended application.
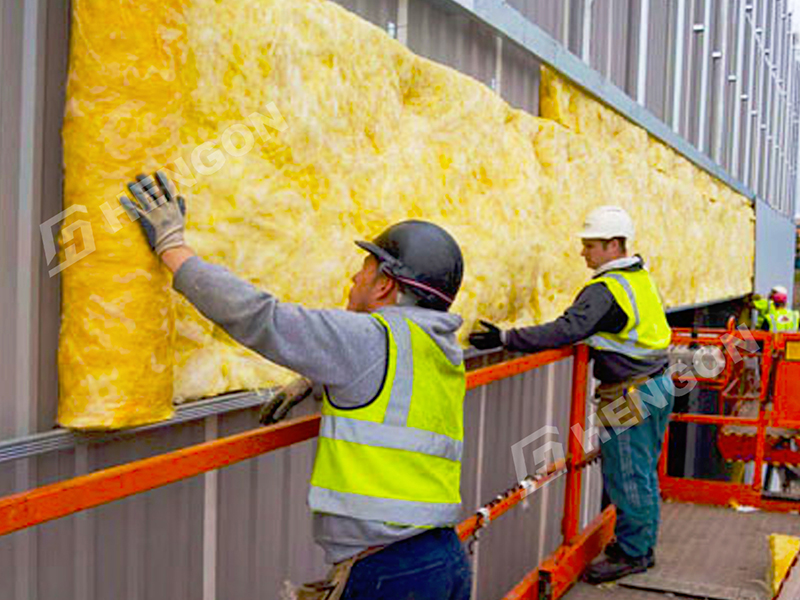
Before you start installing insulation, make sure the wall surface is clean and stable. Get rid of any loose particles, dust, or oil that might be on the wall - these can stop the insulation from sticking properly. If there are any uneven areas, fix them first. You want the surface to be as flat as possible so the insulation can be installed correctly.
A properly prepared substrate provides a more reliable base for the insulation system and helps reduce the risk of detachment.
Use an adhesive compatible with the specified glass wool insulation system. Apply it according to the manufacturer's instructions and the approved construction details.
When you're putting up boards, make sure to press each one firmly into place. Then, double-check that everything is lined up properly with a straightedge. The amount of adhesive you need to use should be based on the specific system specs, rather than just using a general percentage. This is because different products and wall assemblies might need different types of fixing arrangements.
When putting up the boards, try to stagger the joints so they don't line up. This means the vertical joints should be offset from one board to the next. Make sure the joints are tight and don't leave any gaps between the boards. This will help make the whole system work better.
At window openings, corners, and other irregular areas, measure and cut the boards carefully. Fill or treat joints in accordance with the insulation system requirements to prevent gaps that could reduce thermal performance.
Where mechanical anchors are required, install them after the adhesive has reached the specified setting strength. The number, type, length, and arrangement of anchors depend on the substrate, building height, wind load, insulation thickness, and approved system design.
Anchors must be installed securely without damaging or excessively compressing the insulation. Do not assume that one fixing pattern is suitable for every building.
When you're working with exterior wall systems that have a reinforced render finish, make sure to apply the base coat as specified and embed the alkali-resistant mesh while the coating is still fresh and workable. This is an important step to get right, as it helps ensure the mesh stays in place and the render finish lasts.
When working with reinforcement, make sure to maintain the right amount of mesh overlap. This is important to ensure the material is strong and durable. Also, the reinforcement should be fully embedded, without any wrinkles or sections that are exposed. You may need to add extra reinforcement around areas like window and door openings, especially at the corners where cracks can easily form. This extra step can help prevent damage and make the structure more secure.
Now it's time to add the next layer. Make sure the first coat is ready, then follow the system's instructions. The mesh underneath should be completely covered, and the surface should be smooth and even. This will give you a solid foundation for the rest of the process.
Allow the coating to cure under suitable weather conditions before applying the final finish. Follow the manufacturer's requirements for temperature, humidity, rain protection, and curing time.
When it comes to installing glass wool insulation, it's easy to think it's a simple process. But the truth is, even tiny mistakes can have a big impact on how well it works in the long run.
There are several things that can go wrong when installing insulation. For one, if the mesh doesn't overlap enough or the openings aren't reinforced properly, it can lead to cracks. Another issue is when anchors are installed before the adhesive has had a chance to set, which can disrupt the insulation boards. Bad weather, like heavy rain or strong winds, can also impact the quality of the installation. And if it's too hot or too cold, that can be a problem too. Additionally, gaps in the insulation, compressing it too much, or not fixing it correctly can all reduce how well it works.
Contractors should follow the approved system details and inspect each stage before covering it with the next layer.
Roof insulation requires a different approach from exterior wall insulation. The installation method depends on whether the roof uses metal sheets, concrete, or another structural system.
When it comes to metal roof systems, you'll often find glass wool blankets laid out across the supporting purlins, and they need to be installed in a specific way. The facing on the blanket, if it has one, should be pointing in the direction recommended by the manufacturer. Don't just assume that the facing should always face indoors - it actually depends on what the facing is meant to do and how the roof is put together. The correct orientation is important, so it's worth checking the manufacturer's instructions to get it right.
Fit the insulation closely together to minimize gaps. Where multiple layers are used, stagger the joints between layers to reduce direct heat-transfer paths.
Pay particular attention to roof edges, ridges, eaves, and penetrations, where poorly fitted insulation can lead to heat loss or condensation problems.
Metal roof systems may use specified screws, washers, support systems, or other mechanical fixings. Concrete roofs require a fixing method suitable for the substrate and insulation assembly.
Follow the approved roof details to ensure the insulation stays in place without compromising the roof's waterproofing or structural components.
Compressing glass wool excessively can reduce its effective thickness and thermal performance. Use enough fixings to secure the insulation, but do not add unnecessary fasteners or overtighten them.
A good roof needs to keep water, air, and condensation out. Just using glass wool insulation isn't enough - you also need a system in place to control water and vapor. This is because glass wool alone can't stop water from getting in or prevent air from leaking out. You need a special system to keep your roof safe from these problems.
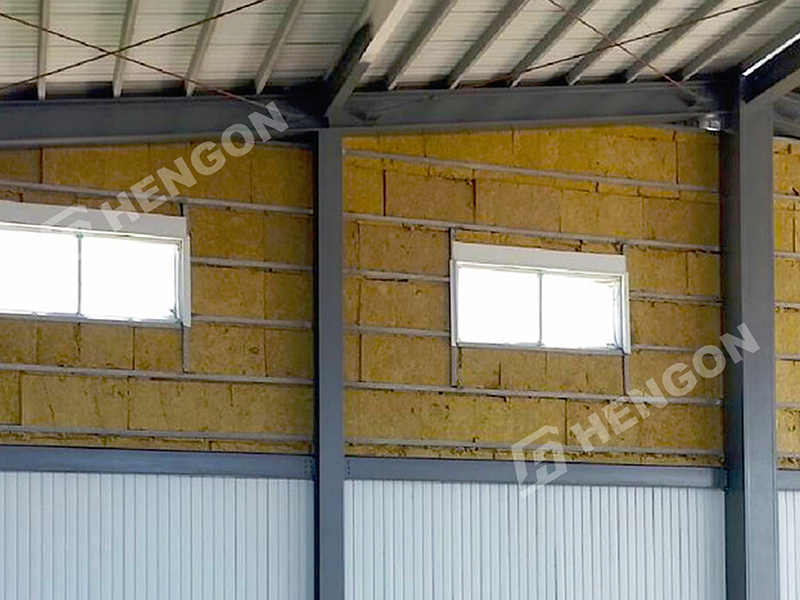
Several recurring problems are worth checking before the work is completed.
When it comes to insulation, gaps between boards or rolls can be a big problem. They create something called thermal bridges, which can really reduce how well the insulation works. And if the insulation isn't fixed in place properly, it can come loose or even get damaged. Compressing the insulation too much is also bad news - it makes the insulation thinner, so it doesn't work as well. Plus, if you don't control moisture properly, you can end up with condensation inside the building, which is a whole other issue. And let's not forget about mesh installation - if it's not done right, it can cause cracks in the exterior walls, especially if they're rendered. All these little mistakes can add up and make your insulation a lot less effective.
A final inspection should check the insulation joints, fixing points, reinforcement, roof penetrations, and moisture-control details before the work is covered or handed over.
To get the most out of glass wool insulation, you need to think about the whole building, not just the insulation itself. It's got to work together with the walls, roof, and other layers like a team. This includes the air-control layer, which helps regulate airflow, and vapor-control measures, which prevent moisture from building up. And let's not forget the exterior weather protection - it all needs to come together to keep your building cozy and dry.
For industrial warehouses and steel workshops, the best insulation solution depends on the local climate, building use, roof and wall construction, fire requirements, and target indoor temperature. Coordinating these factors during the design stage can help avoid installation problems and unnecessary material costs.
When you're building a warehouse, workshop, or factory, it's really important to think about insulation. You should talk to your team about what kind of insulation you need before you finalize the plans for the walls and roof. This will help you make sure your building is comfortable and energy-efficient. Insulation is key to keeping the temperature right and reducing noise, so don't forget to discuss it with your team.
We offer personalized steel structure building solutions for businesses and industries. To get started, simply share some details with us - like the size of your building, where it's located, how you plan to use it, and what kind of insulation you need. Our team will work with you to come up with a design that fits your needs.
 English
 Español
 Français